
Create an event and issue to attendees
Use an Event for a dated gathering: a workshop, conference, webinar, meetup, or hackathon. Keep the attendee list and each credential run in that event.
Create the event
- Open Issue, choose Events, and start creating an event. From the combined list, choose Event on the creation form.
- Select the approved Organisation (issuer). Only organizations you own or administer are available.
- Enter a recognizable Event name. Choose Status, Type, and whether the event is Free or Paid.
- Write the required Description, up to 650 characters. Say what the event covered and what the credential recognizes.
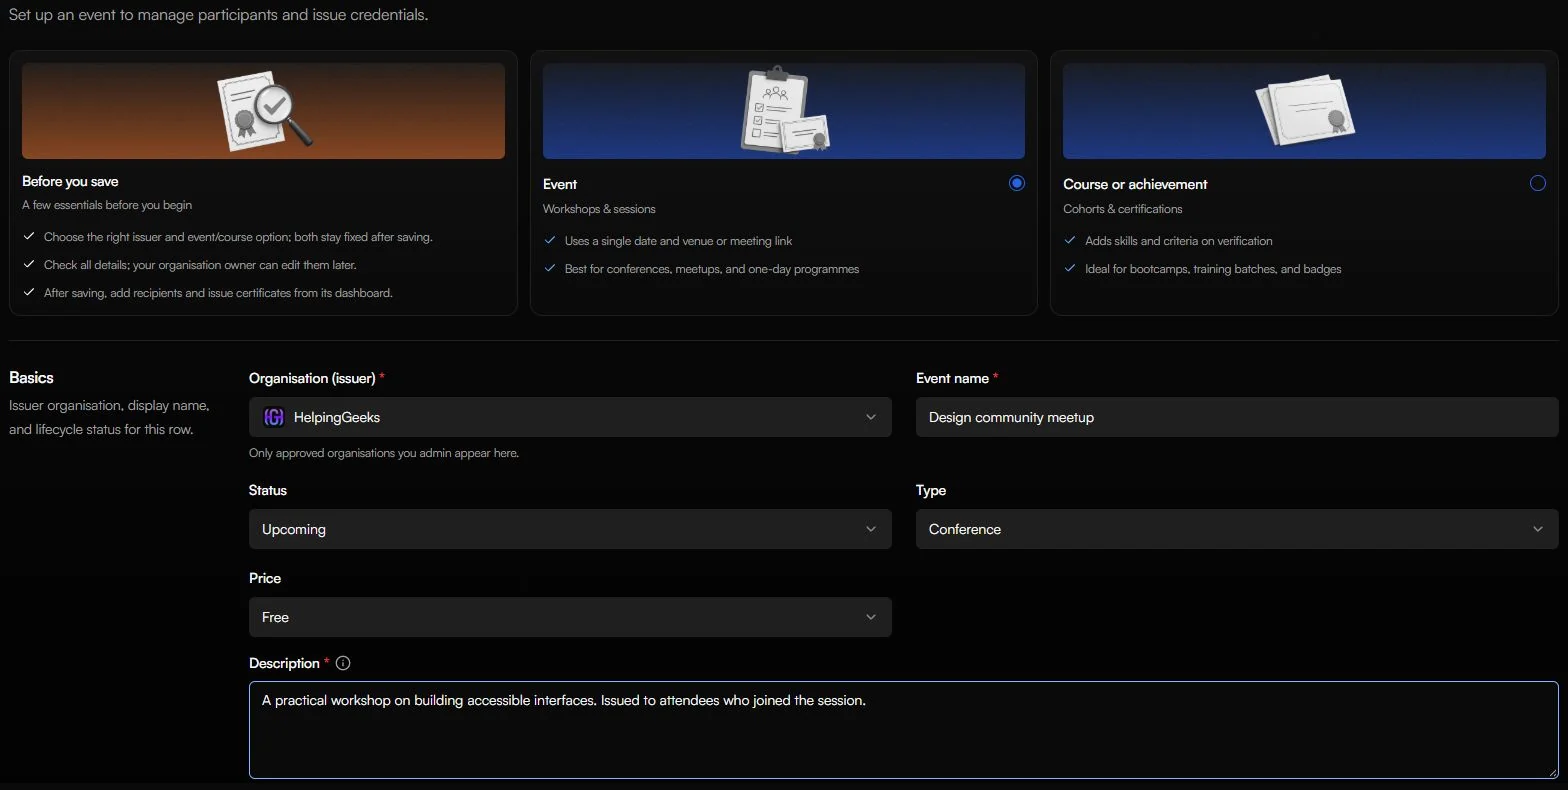
The available event categories are Conference, Summit, Convention, Trade show, Webinar, Workshop, Seminar, Meetup, Networking event, Hackathon, Live training / workshop day, Ceremony / awards, Town hall, Sports / match, Other.
Set the date and location
Under Schedule & location, set Event date & time. For an in-person event, enter the required Location. For an online event, turn on Virtual and add a Meeting URL / platform if useful.
Event details can appear publicly on credential verification pages. Use a public event page or platform name rather than a private meeting password or access link.
Check the organization, Event choice, name, description, date, and location, then select Create event. The organization and Event/Course choice stay fixed after saving.
Separate attendee roles
The event opens with a Default Batch. For a small workshop, use that group for everyone. For a larger event, create groups such as Attendees, Speakers, and Volunteers.
In Groups, choose Create group, enter its name and type, and add a description if your team needs one. Then add or import people into the correct group from Recipients.
For example, keep speakers separate when their certificate says "in recognition of your talk" and the attendee certificate says "for participating in the workshop".
Issue the right design to each group
- Check your actual attendance or eligibility list. A registration list alone may include people who did not attend.
- Open Issue inside the event and select the attendee template.
- Filter Select Recipients to the attendee group, select the people to include, and check the selected count.
- Review issue date, optional expiry, and email settings. Generate a small batch and inspect the files before continuing.
- Repeat for speakers or volunteers with the appropriate template and recipient group.
A group does not automatically select a template. Check the design again each time you start a different run. See Issue, schedule, and deliver for job progress and email timing.
After the event
Use Manage to find generated credentials, send delivery emails, download files, or revoke an incorrect award. Check Jobs for failed recipients before repeating an issuance run.
If you issue later to one attendee who was missed, select only that person. You do not need to run the entire group again.