
Dynamic fields and name alignment
Dynamic fields are template variables that Creadefy fills during issuance, such as the recipient name or verification QR code. Add them from the editor's Dynamic panel.
Start with name and QR
Use Recipient Name for the person receiving the credential and QR Code for its verification link. These are the best starting point for most designs, and the editor requires both before saving.
The name field shows a token such as {{recipientName}}. It is locked against direct text editing so the placeholder stays intact. You can still change its font, size, color, alignment, and position.
Keep shared text, such as "Certificate of participation", in ordinary text. A new CSV column does not automatically become a custom dynamic field; use the fields the editor provides.
Align a changing name
- Add Recipient Name from Dynamic and select it on the canvas.
- Choose the font and size in Properties. Leave a generous line of space for names longer than the placeholder.
- Use the left, center, or right text alignment buttons to choose how the name sits within its text area. A centered certificate usually needs center text alignment.
- Use Quick Align → Center horizontally to position the object across the canvas. This is a positioning control; it is separate from the text alignment buttons.
- Move it vertically into the blank name area. Leave room between the name and the sentence underneath so a long name cannot collide with the next line.
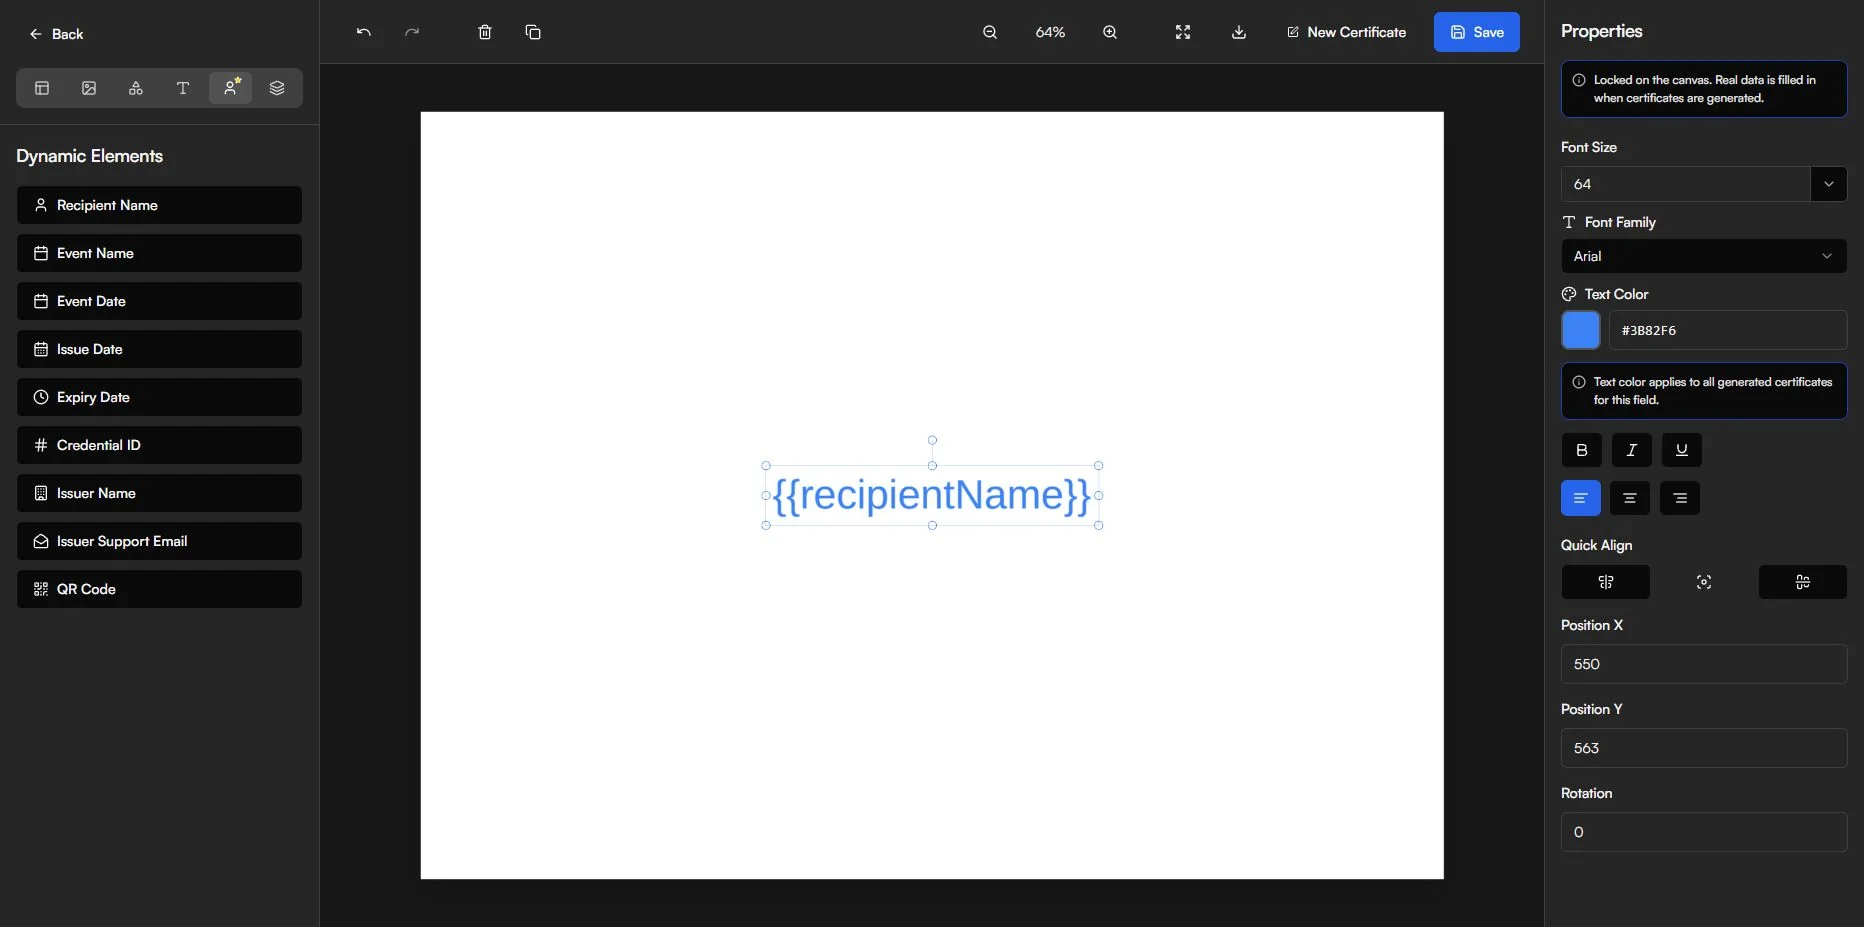
Compare your shortest name with your longest. Include names with spaces, hyphens, and accents if they appear in your list. If a name is too wide, give it more room or reduce the font size. Do not shorten someone's name just to make the layout fit.
Choose other fields carefully
| Field in Dynamic | Use it for |
|---|---|
| Event Name | The linked event or course name. Leave it as fixed text if this design will only serve one programme. |
| Event Date | The programme date, separate from the day you generate credentials. |
| Issue Date | The date applied when the generation job runs. Check it on a generated credential before delivery. |
| Expiry Date | An expiry value drawn into the artwork when supplied. Check a generated result before relying on it. Record expiry is managed separately in Manage. |
| Credential ID | The unique identifier assigned to the issued credential. |
| Issuer Name | The issuing organization name. Check that the wording matches the selected issuer. |
| Issuer Support Email | An issuer contact address drawn on the image. Only include an address you intend to make public. |
A printed date or sentence in your artwork is only visual content. It does not set programme metadata, email settings, or credential dates by itself.
Make the QR easy to scan
Place one QR Code field in a clear corner or along the footer. Keep text, borders, and logos away from it. Give it a plain, high-contrast area and avoid stretching it into a rectangle.
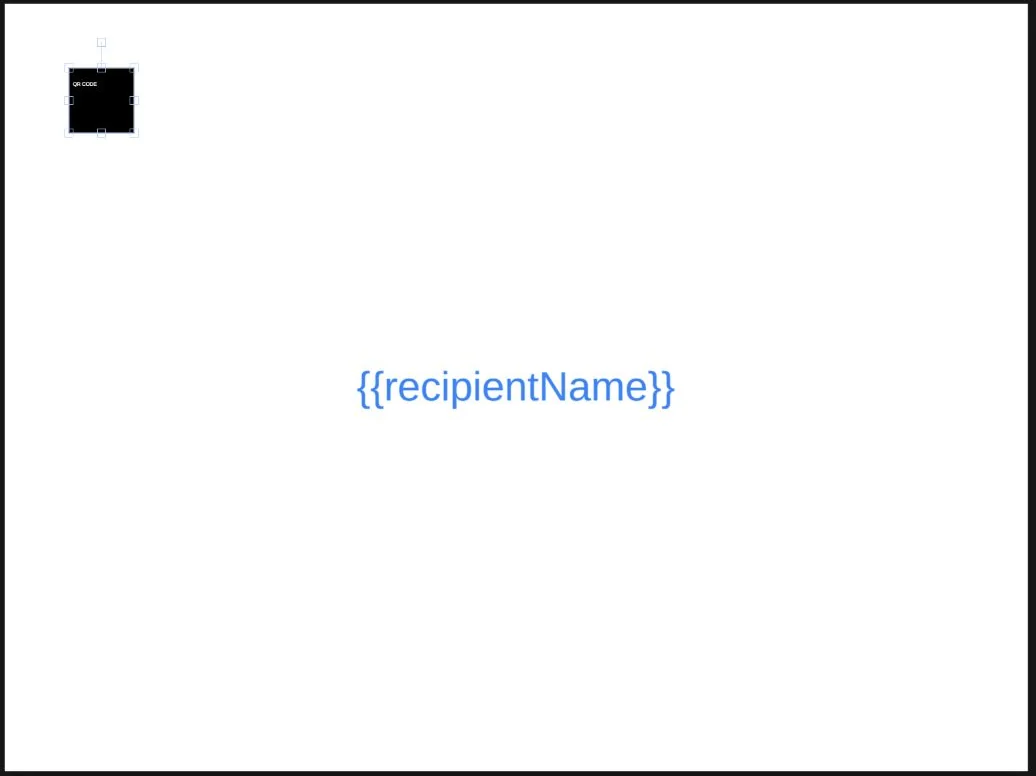
Scan a generated credential on a phone at the size recipients will use. Also test a printed copy if you plan to hand out printed certificates. The scan should open that recipient's public verification page.
Check a real result
Before issuing to everyone, generate a small batch and inspect its PNGs. Confirm the name, programme, date, issuer, and QR destination. Use a test recipient whose name is representative of your longest real names, with an inbox you control if you plan to test delivery.
Preview Email previews the delivery email. It does not prove that every recipient's name fits the generated PNG.